HOW TO DRAFT NECKLINE FOR A TUNIC/QAMEEZ
1. Measure the neckline (Photo 1) on your favorite shirt/ tunic/ Qameez across.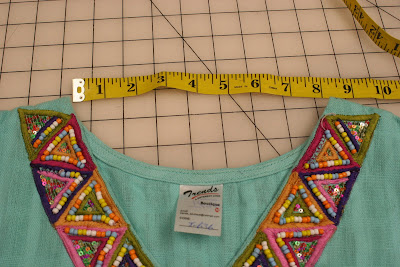
2. Measure how deep (Photo 2) the neck line is in front and in the back.
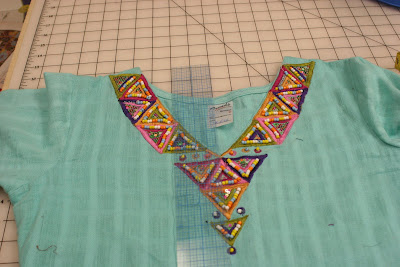
3. Note the measurements as follows
MEASUREMENT 1: Across measurement (Front and Back) divided by 2 - half an inch for seam allowance. It is same for front as well as back For me Measurement 1 is (8/2 -0.5) or 3.5 inches
MEASUREMENT 2: Depth - half an inch. For the back it is going to be much shallow because the back neckline is not that deep.
Measurement 2 Front (5-0.5) or 4.5 inches
Measurement 2 Back (2.5-0.5) or 2 inches
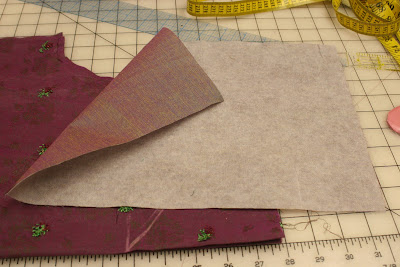
4. Cut two pieces of interfaced fabric for facings for front and back (Photo 3). These instructions are for 2 inches wide facings.
FOR FRONT:
LENGTH is Measurement 1 x2 + 4.5 ( 3.5x2 + 4.5) which will be 11.5
WIDTH is Measurement 2F + 2.5 which will be 7
FOR BACK:
LENGTH is Measurement 1 x2 + 4.5 ( 3.5x2 + 4.5) which will be 11.5
WIDTH is Measurement 2B + 2.5 which will be 5
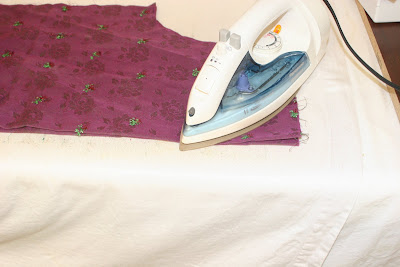
5. Fold and lightly iron the front, back pieces and facings to mark the exact center front or center back. (Photo 4)
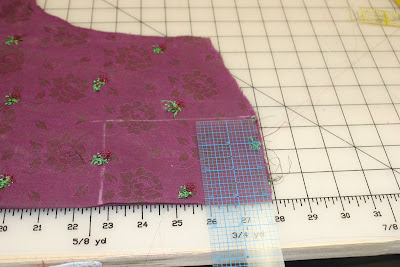
6. Mark the rectangles on front (Measurement 1) and on back (Measurement 2). Measure from the top and the folded edge. (Photo 5)
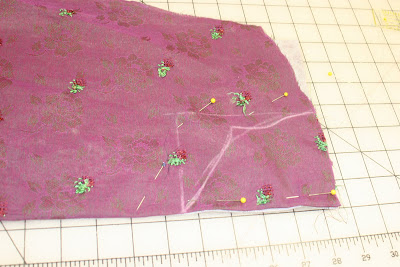
7. Make any shape in the rectangle on the front piece. It can be Square, Round, V, Heart shape, asymmetrical etc. (Photo 6)
8. Place the folded facings under front and back pieces. Take extra care to match the ironed centers and also tops.
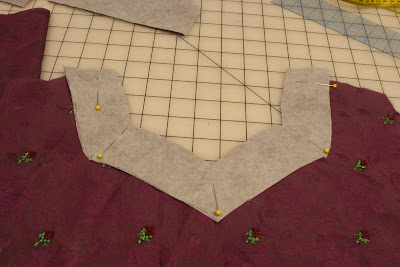
9. Pin the front folded facing to the front folded piece. Pin generously so that the fabric does not shift during cutting. (Photo 6)
10. Cut along the drafted lines. (Photo 7)
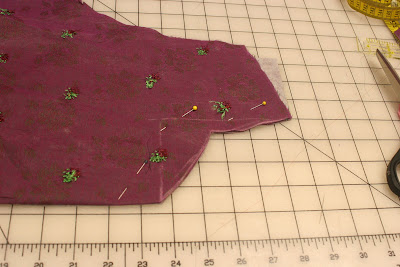
11. You can see the facing sticking out from under, at shoulder seam lines. Cut the stiking out part along the shoulder seam lines. (Photo 7)
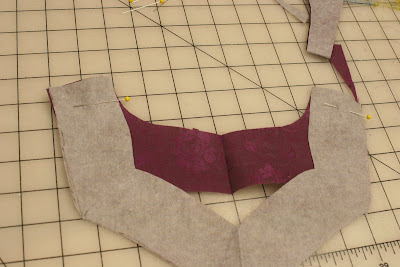
12. Unpin the facings and mark 2 inches around the cut edges and cut (Photo 8).
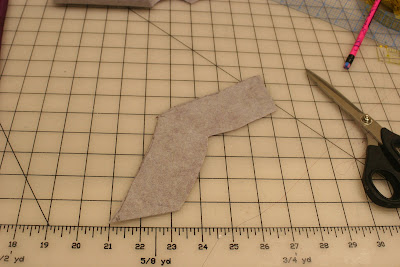
13. Pin the front facing to the back facing at the shoulder seams (Photo 9)and sew.
